Happy Thaipusam to all those who are celebrating!
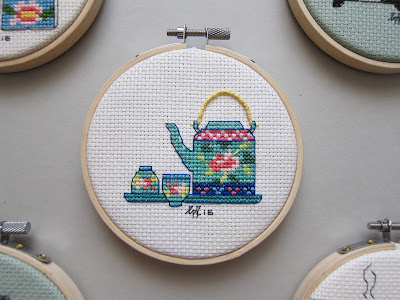
Once you have finished your stitching, it’s time to frame it! Today, I'll take you through framing your work in a hoop. We use 4" hoops for our cute Nyonya designs.
Top to bottom from L-R
1. There are 2 parts to your hoop. Loosen your hoop and place the inner hoop onto 1 corner of your felt. Using a pen, trace the inner circle of your hoop.
2. Cut this circle out.
3. Using craft/fabric glue, put a sufficient amount onto the inner hoop.
4. Place the inner hoop onto the remaining half of the felt. Tug gently at the sides before the glue hardens, so that the felt is taut against the hoop.
5. Once the glue dries, carefully trim the excess around the hoop.
6. Centre your stitching over the inner hoop, with the felt facing up. This protects the back of your stitching and is great if you don't wanna show your 'messy back'.
7. Take your outer hoop, place it over your stitching and gently press down, ensuring that your stitching is still centered. Tug gently at the sides as you tighten the screw, so that your stitching is taut.
8. Once that is done, trim off the excess fabric leaving about 1.5”/4cm around.
9. Turn the hoop over and put some glue onto the inner hoop.
10. Fold the fabric little by little.
11. Put more glue.
12. Place the other piece of felt to finish up.
13. And, it’s ready! Stand it on an easel or use some ribbon to hang on the wall.
Of course, this is just one way of doing it. You can even choose to replace the felt with a backing fabric and finish off by cutting really close to the hoops. There are many possibilities 😉
If you are concerned about dust gracing your masterpieces, you can even frame these in photo frames/ shadow boxes; or if that is not up your alley, a fellow stitcher once suggested running a lint roller over the pieces from time to time.
Hope this helps! 😀
xoxo, Michelle


